It is a common practice to have a management server, with most (if not all) consoles installed on it. the purpose of this practice are to consolidate the management consoles into centralized servers, and reduce un-needed resources utilization on target servers (e.g : SQL, AppSense, Citrix Delivery Controller, VMware vCenter).
One component that I love to have in my management server is Citrix GPMC. I prefer to configure my Citrix policies via GPO, rather than Citrix Policies. One main reason is to consolidate all policies into a single, centralized location.
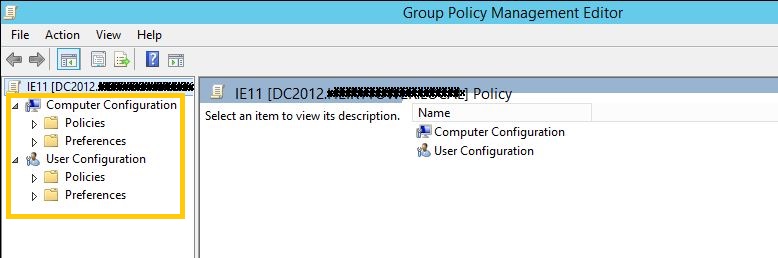
This is what you can see from AD server or normal servers/machines without Citrix GPMC installed / enabled.
One component that I love to have in my management server is Citrix GPMC. I prefer to configure my Citrix policies via GPO, rather than Citrix Policies. One main reason is to consolidate all policies into a single, centralized location.
This is what you can see from AD server or normal servers/machines without Citrix GPMC installed / enabled.
This is what you can see from Citrix servers with GPMC installed / enabled.

Now, how to install Citrix GPMC :
- Download the installers from here :
x86 : http://support.citrix.com/article/CTX142463#download
x64 : http://support.citrix.com/article/CTX142464#download - Right click at the installer, and click Install (or just double click at it).

- Preparing to install..

- Accept the agreement, and click Install

- Installing...

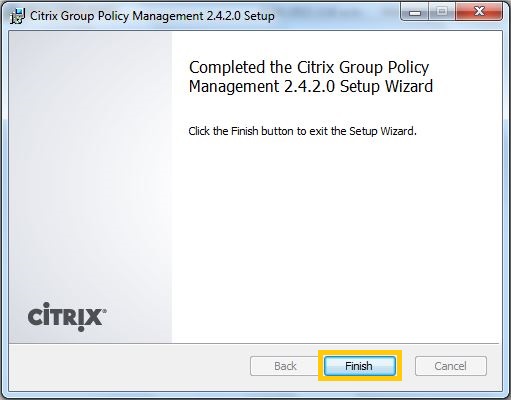
- Done, click Finish.
- Launch Group Policy Management, and Edit any GPO

- Now we can see Citrix Policies available in GPO.